We have a lot of irons in the fire: the process of incorporating our business, living in our akiya during extensive renovations, finding and prepping farmland, and settling in to life in another foreign country, all while staying on the Startup Visa schedule. But today we’re going to take a look at just one of our current projects: our first honeybee apiary!
We found the perfect location through a very helpful friend. She connected us with a friend of hers, who owns many pieces of farmland around the neighborhood. Like most people on Ōmishima, she has a plentiful garden, but doesn’t have a use for the rest of her fields and rice paddies, so they sit abandoned. One piece of land in particular was exactly what we needed: a long, narrow rectangular shape, situated away from houses, surrounded on all sides by flowering tree forests and citrus orchards, with an inoshishi (wild boar) fence already in place. Best of all, the land is a short distance from our house: 3-minutes by kei truck, or 12-minutes by jitensha (bicycle). The owner is generous enough to offer the use of the land for free, in exchange for our caretaking; she says her husband is very happy that he will no longer have to cut the grass! Of course, we plan to compensate them in other ways, most likely with regular gifts of honey.
The first step was to get our 9 new Japanese hive boxes constructed and installed. I’ll go into much more detail in the coming months and years, regarding Japanese hives vs. Western hives vs. Flowhives vs. horizontal hives. Eventually, we plan to design and build our own horizontal hives, based on Evan’s extensive research. But due to the time constraints of the Startup Visa process, which requires us to demonstrate to the Japanese government that we can operate a viable business, we opted to purchase and build Japanese hive boxes, in order to to meet our initial timeline goals. Those of you who keep bees will be interested to see the difference in construction. Look at those cute little windows!
After weed-whacking the grass and trimming some trees, we meticulously leveled the cinder blocks for the hives to sit on. We chose to reuse as many materials found in our akiya abandoned house and garage. Almost all of the cinder blocks were salvaged when cleaning up the overgrown side yard. Most of the tools used belonged to our home’s former owner. All of the tatami mats used for natural weed-barrier were found on our property. And when they eventually deteriorate, we have plenty more tatami mats to layer on top, as they’re made from all natural materials.
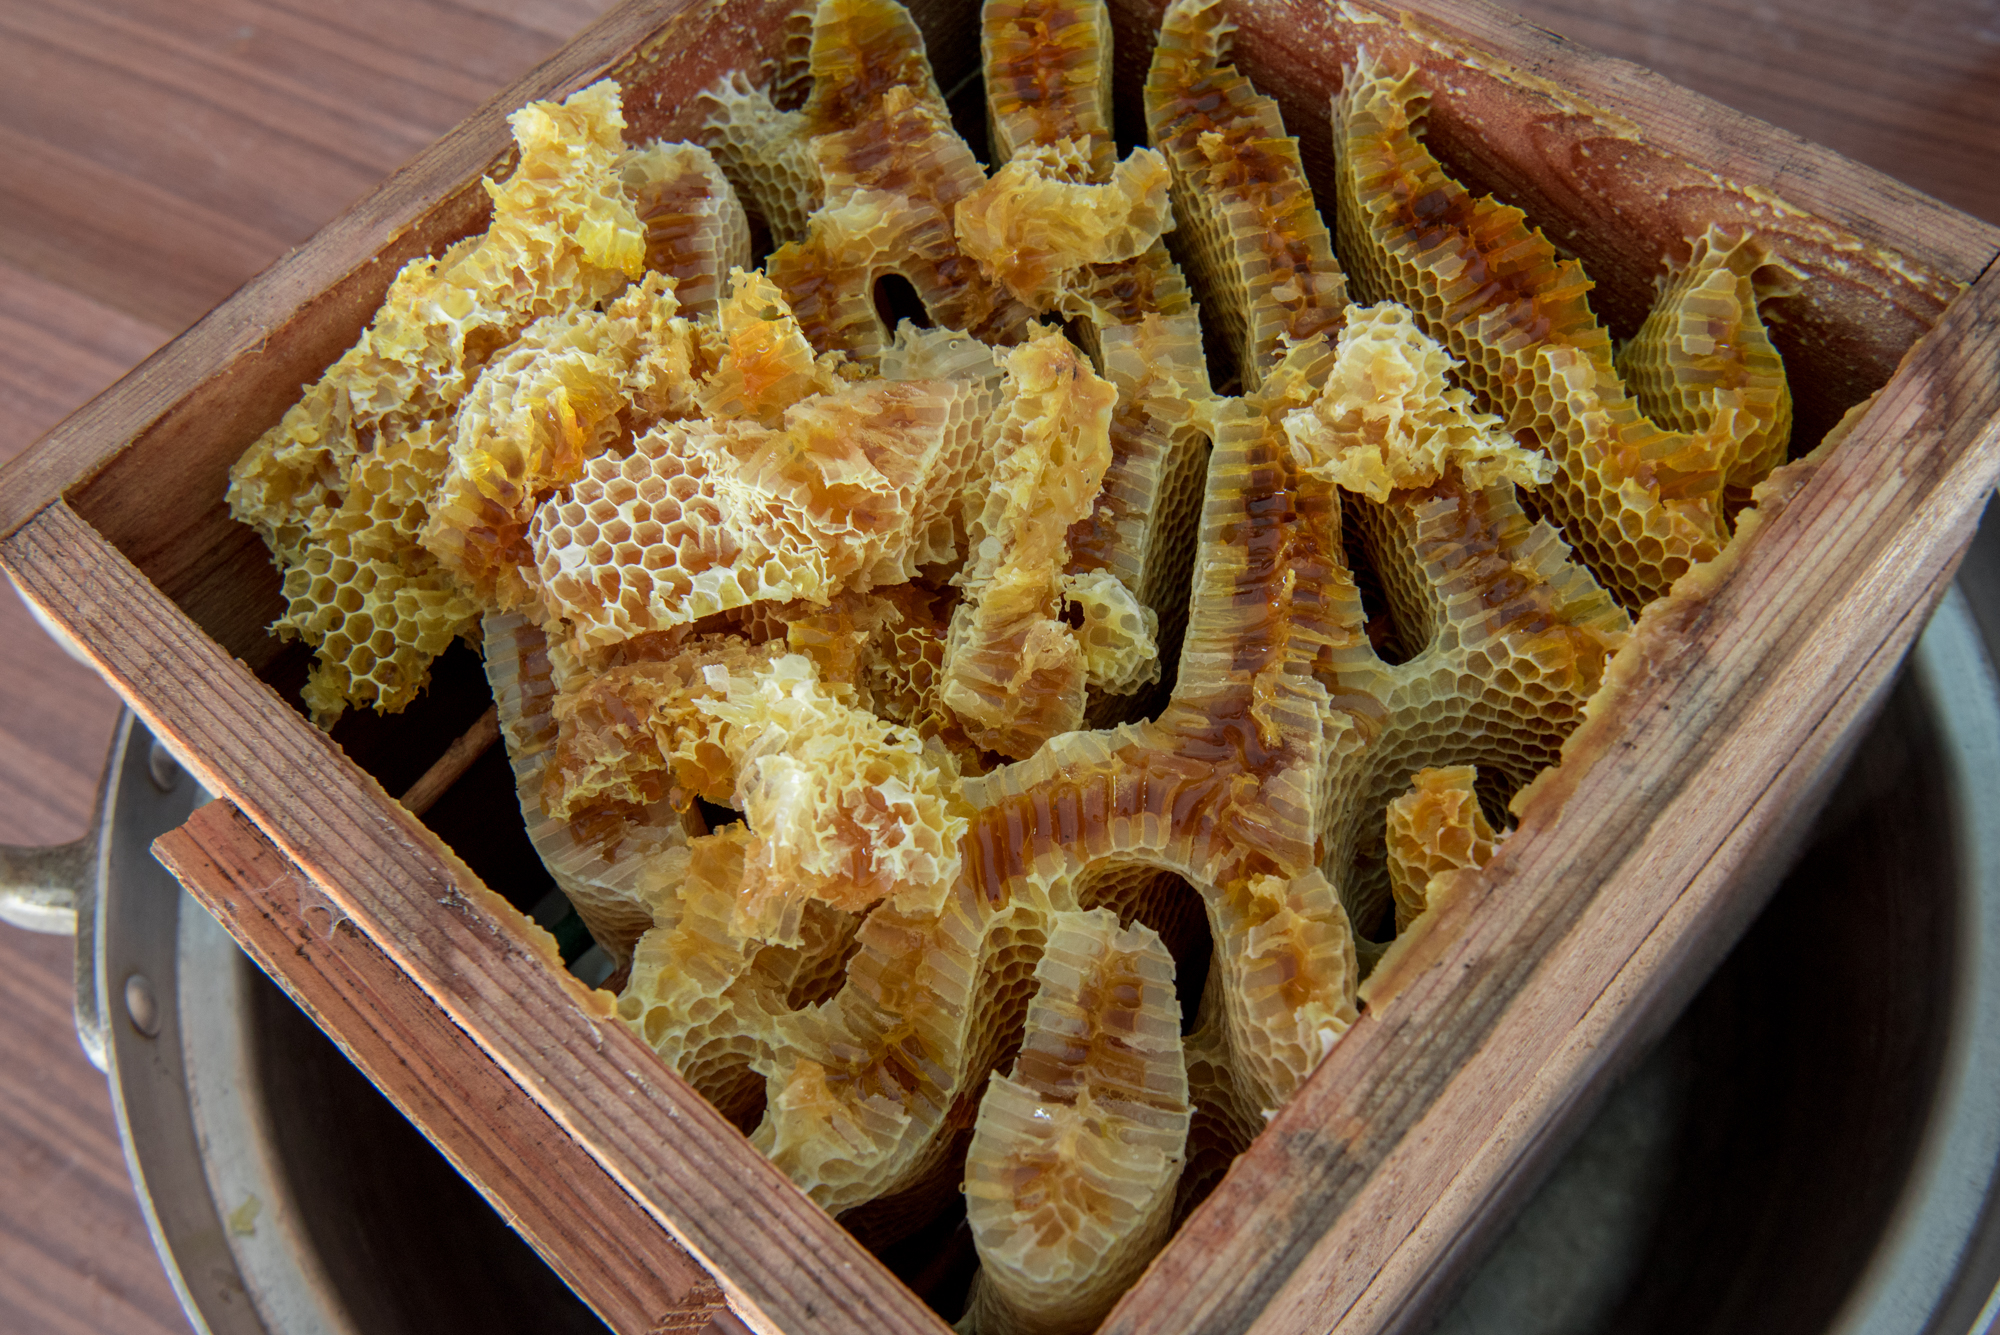
We’ve only installed a honeybee colony in one hive, to start. Back in Louisiana, we would purchase what’s called a “nuc” (nucleus colony) from a local beekeeper, who would then deliver the honeybees in person. Here in Japan, it seems uncommon to get bees locally, so we did mail order! We received a hilarious suspiciously buzzing box from the delivery man, containing four frames of comb, bees, and a queen. This isn’t an ideal time of year to be installing colonies, so we wanted to keep a close eye on this colony before ordering the rest! So far, they seem to be settling in just fine.
As we continue prepping this honeybee apiary, and the next, what sort of honeybee content would y’all like to see? If you have any specific topics or questions, please let me know. We want to eventually focus on this kind of content, and in the meantime, I’m happy to cater topics to what you’re interested in.
The next steps at our new honeybee apiary will be:
- Filling the unused space with plants and flowers that are good nectar sources, carefully planning so something is always blooming, as many months of the year as possible.
- Reinforcing the inoshishi (wild boar) fence with locally-sourced bamboo poles.
- Clearing the space between the fence and the terrace, and finding a solution that will keep future perimeter weed maintenance to a minimum.
- Improving the entrance gate with stone stairs.
- Building a ramp and gate for kei truck access.
- Installing 1 more hive to this location, for a total of 10 hives.
Concurrently, we will be preparing our second honeybee apiary:
- All the same preparation from the ground up.
- Installing 8 Japanese hives, and 2 Flowhives, for a total of 10 hives.
- Filling all 20 hives using “split colonies” from our first 9 colonies, by the end of the year.
Our YouTube video, detailing the first phase of honeybee apiary (#1) preparation ⌄
Another recent YouTube video, up-cycling old tatami into garden mulch ⌄
Another recent YouTube video, fermenting wild-foraged plum and loquat into umeshu and biwashu ⌄
Thanks for reading,
Dani & Evan Benton