We’ve nearly reached the halfway mark of our 6-month Startup Business visa timeframe, and I’m very happy to say that our ‘akiya’ house, formerly abandoned for 10 years, is starting to (almost) feel like a home! We have some soft comforts, including beautiful new tatami mats, repaired shoji screens with new washi paper, and the first few pieces of furniture are going into place. The contractors have completed their portion of the work, which really helped speed things along, and saved us a few months of time. We estimate that we can finish the remaining projects in the next 6 to 8 weeks, and officially open our guesthouse on or around November 1st. Maybe then we can have a day off 😉
First, let’s look at the underside of a traditional Japanese house! We were surprised to learn that we needed to replace our sub-floor before new tatami mats could be installed. We’re pretty tight on our budget, so after some thought, and some encouragement from other people familiar with this kind of construction, we decided to tackle the job ourselves.
Evan went through the process to determine which of the 70-year old wood needed to be replaced, and did so, using mostly hand-tools we found in the garage (hand saw and chisel). By doing this job ourselves, we were able to save a lot of expense, but also save the massive timber beams, which would have otherwise been replaced. One room only needed minor repair, and one room needed almost all of the smaller joists and planks replaced. With these repairs, the floor will last at least another 70 years!
I’m really proud of Evan for doing all this work. We don’t have a background in construction, so any time we do a project like this, we look to the guidance of books, YouTube, and others with experience.
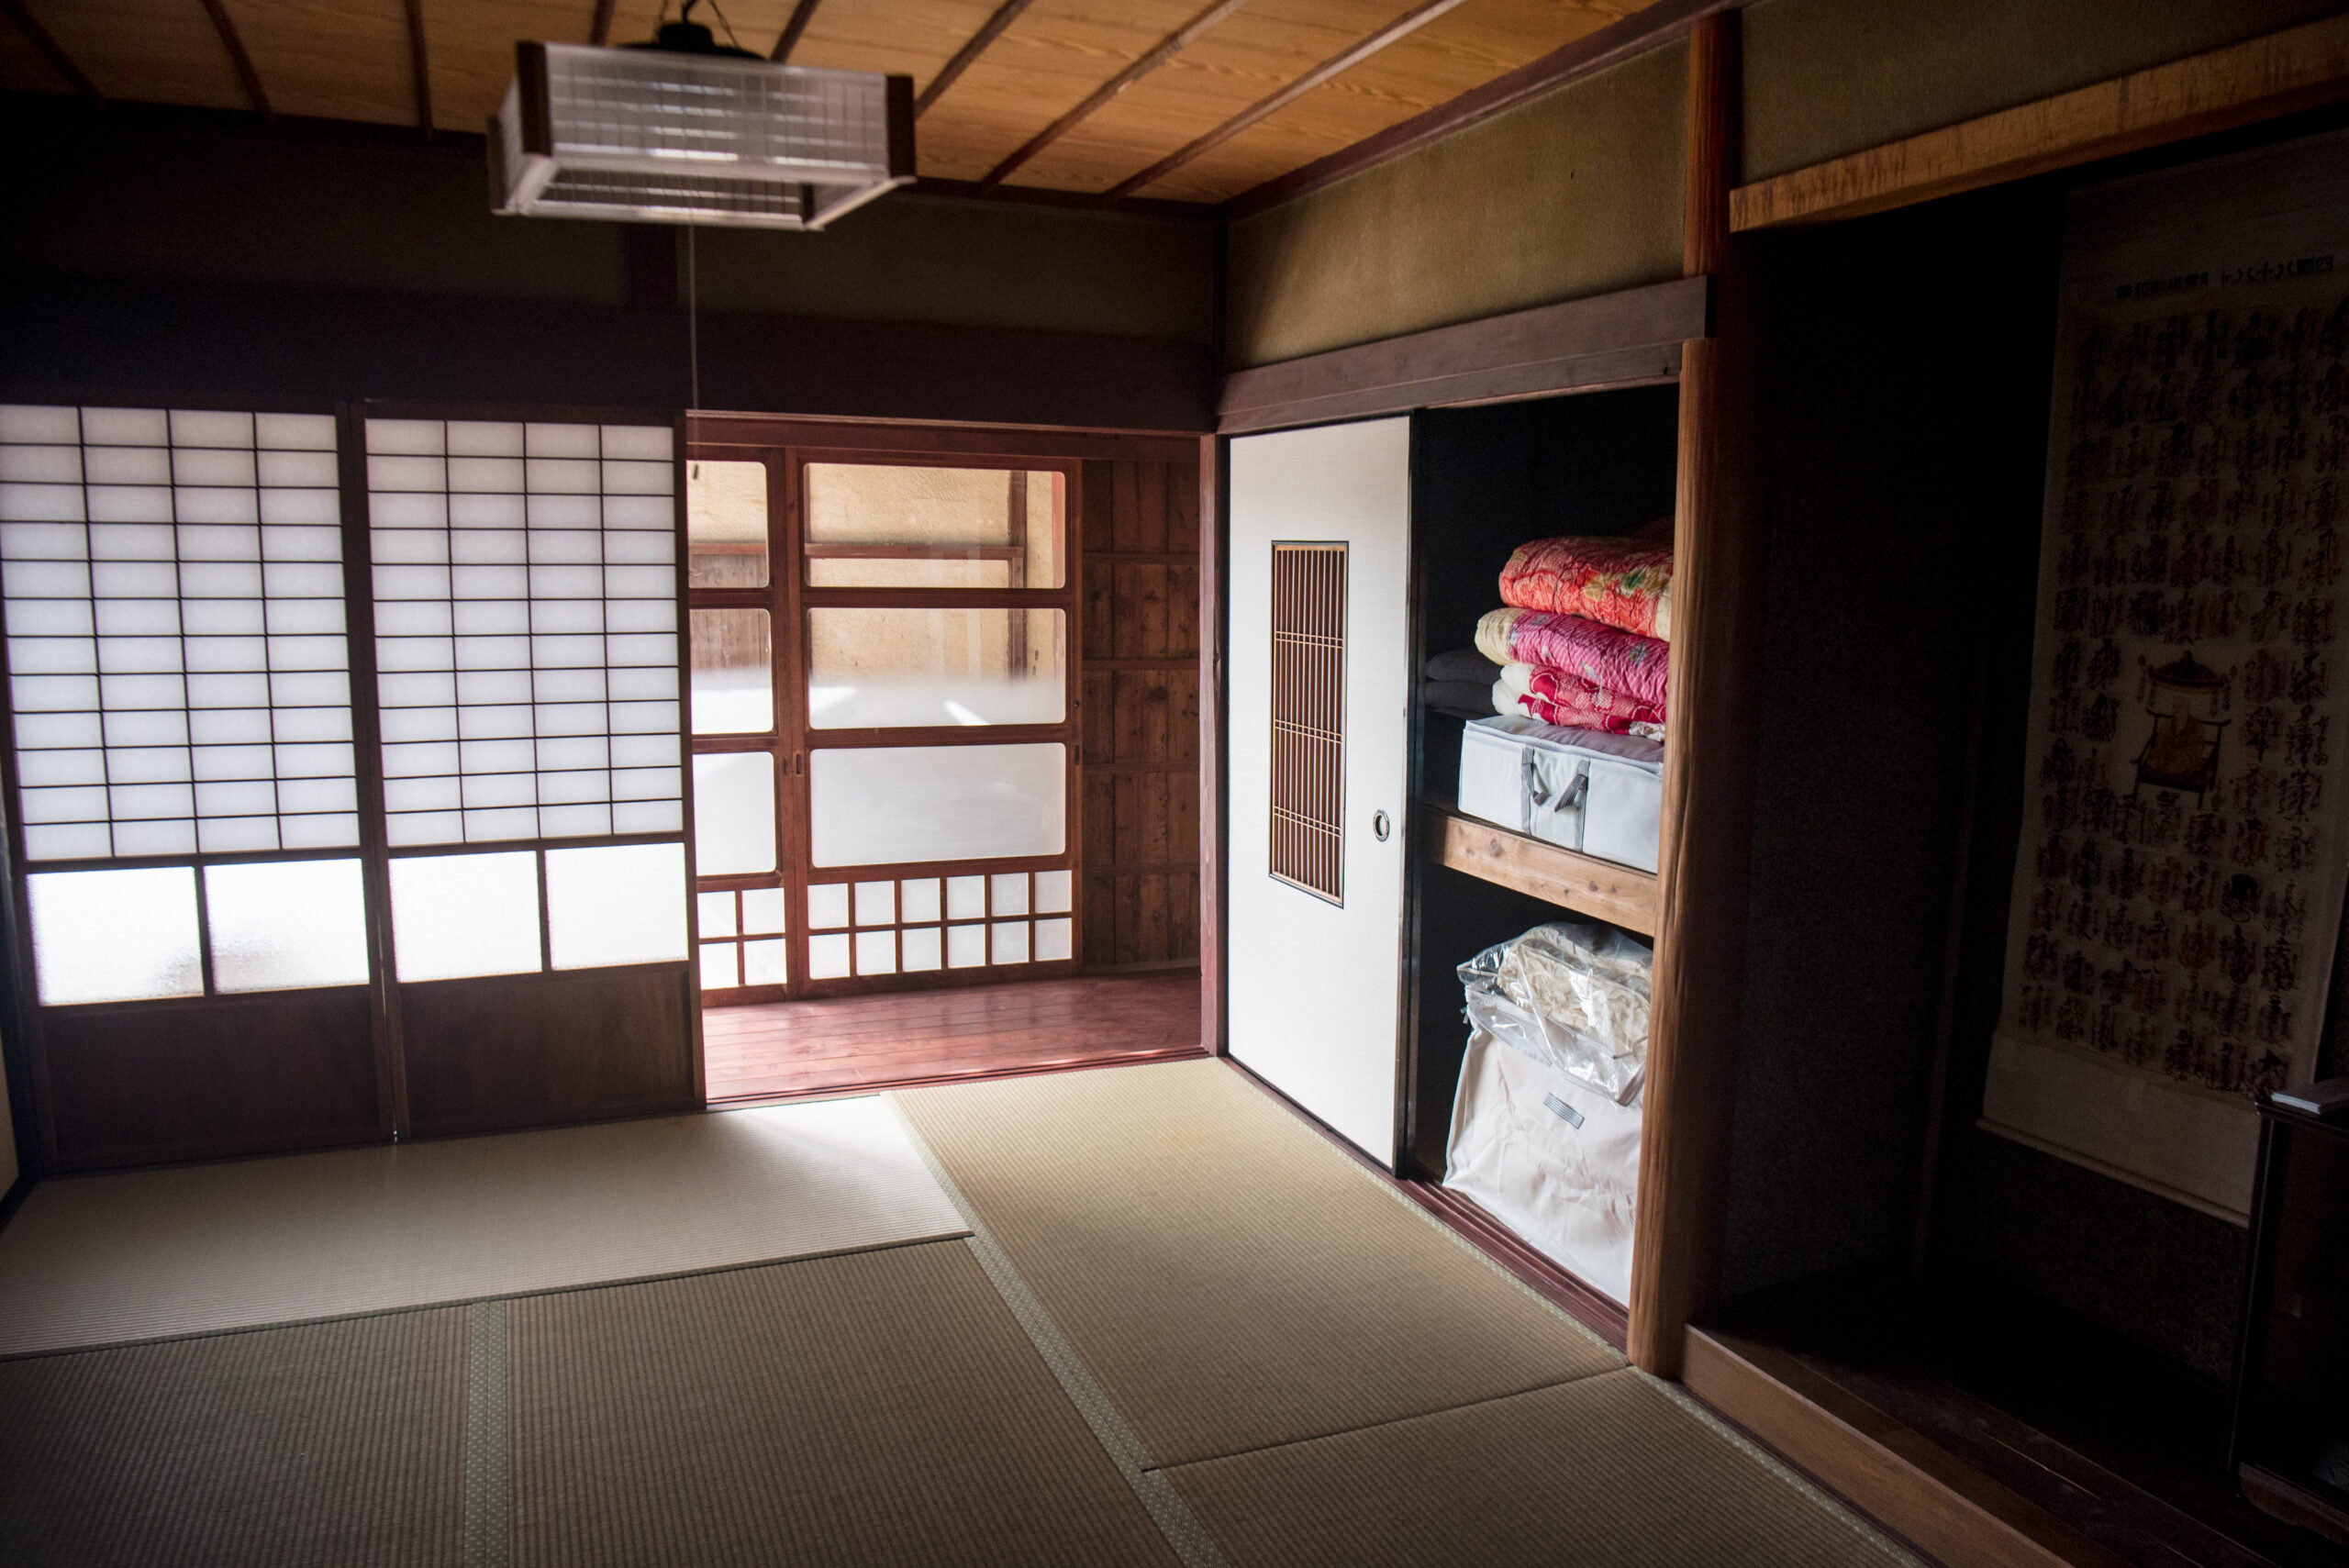
You’ll also get to see the beautiful brand new tatami being installed, and the process of laying the mats carefully in place, and getting them level. Nothing in our house is square anymore, so these tatami are each custom-woven to fit the space: length, width, and height. Fresh tatami mats are green, then slowly fade to their straw color from exposure to sunlight. It smells like freshly mowed grass. Also, we got the identical pattern of tatami fabric border that was in the house before, but in green instead of grey. It’s simple design elements and things like this we’re intentionally choosing, to help bring the history of the home into the present and future.
One tatami is even rather rounded on the edge, to fit along a beam that has bowed out over the years. As the tatami man says, it’s “super wide”. Look at the curve! There is such an art to fitting the mats in the space, in three dimensions.
Our YouTube video covering the whole process of sub-floor strengthening to tatami installation ⌄
Next, we recently spent some time working on another traditional aspect of an older Japanese house: the engawa. This room comes in different forms for different houses, and there are more specific names for the different kinds of engawas. Some encompass the entire perimeter of the house, like a Western wraparound porch. Ours is only on the front side of the house, but the concept and functionality is the same.
The hallway-like room is designed to be opened up to the outside, allowing not only light, but airflow, into the house. The window panels are actually doors that easily slide into a small wooden cubby at the end of the wall, so the whole wall opens up completely. It really is lovely.
It took many days to clean the paper-like walls and stain the wood back to it’s former dark color. I intentionally did not sand the wood down, which would have created a uniform finish, as we decided we didn’t want the room to look brand new. It looks clean and beautiful, but shows a hint of the former wear of it’s long 70 years of life. We like the character of the restored wood this way. What do you think?
Our YouTube video covering our wooden engawa restoration ⌄
I’ll have a video coming soon to show the process of restoring all the various sliding screens! Heavy wooden screens with glass windows, light wooden shoji screens with washi paper, and solid fusuma screens with paper and fabric panels. We learned how to fix them all!
After that, we have a few challenging rooms to tackle: the kitchen, the bathroom, and the doma entrance room. Evan found a great used saw at a local recycle shop, so he will soon start building the doors to renovate our stainless steel cupboards, as well as polishing them to a beautiful shine. The bathroom needs cosmetic work and lots of scrubbing, scrubbing, scrubbing for the tile walls and floors. And the doma will need a good floor cleaning, which, we’re not quite sure how to do yet, to remove what seems to be oil. Wish us luck! Lastly, we’ll furnish, photograph, and list for rent.
Thanks for reading,
Dani & Evan Benton